Step 1:
To create a table of contents, open your document in Microsoft Word 2010 and click on the Home tab.

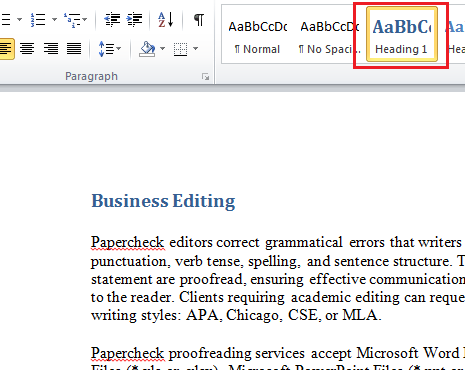
Step 2:
Highlight the first heading and select Heading 1, as shown in the screenshot below.
No products found.
Step 3:
Follow Step 2 to set all of the remaining headings. Once you have set all of your headings, click on the References tab at the top of the screen.

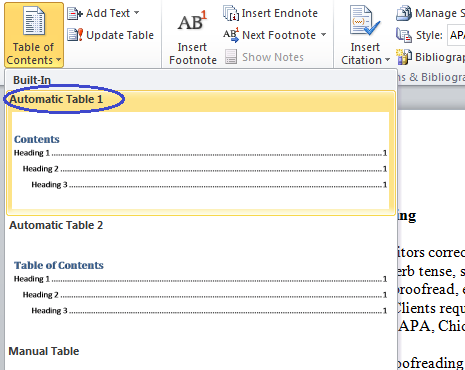
Step 4:
Place your cursor at the beginning of the document. This is the place where the table of contents will be inserted. Click on the Table of Contents icon and select Automatic Table 1.
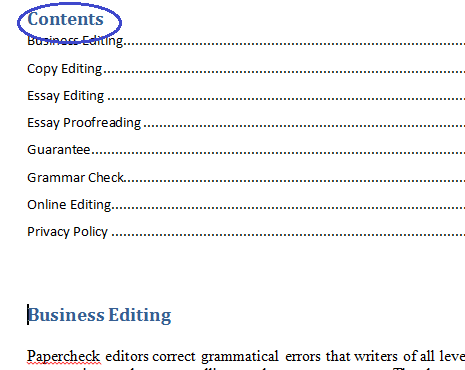
Step 5:
Notice that a table of contents has been inserted at the head of your document.
No products found.
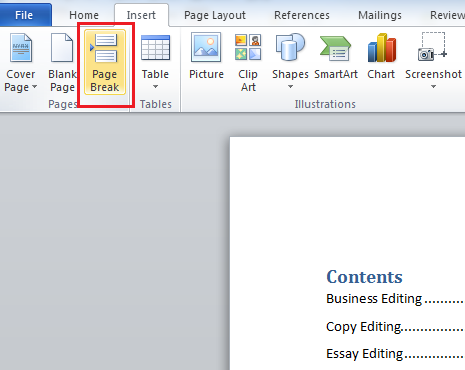
Step 6:
If you would like the table of contents to appear on a separate page, place your cursor before the first heading and click Page Break within the Insert tab, shown below.
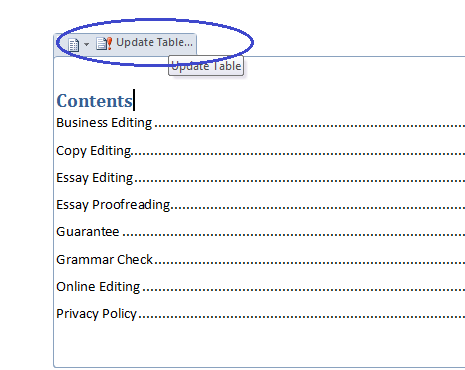
Step 7:
To update the table of contents, simply click anywhere on the table. Click the Update Table tab that appears at the top of the table, as shown in the screenshot below.